All you ever wanted to know about siding
The siding and exterior of the house finished up last week! Progress on the house is at a standstill because of Snowpocalypse 2019, so now's the time to write up my choices. Be forewarned, there is a lot of detail here!


Inspirations
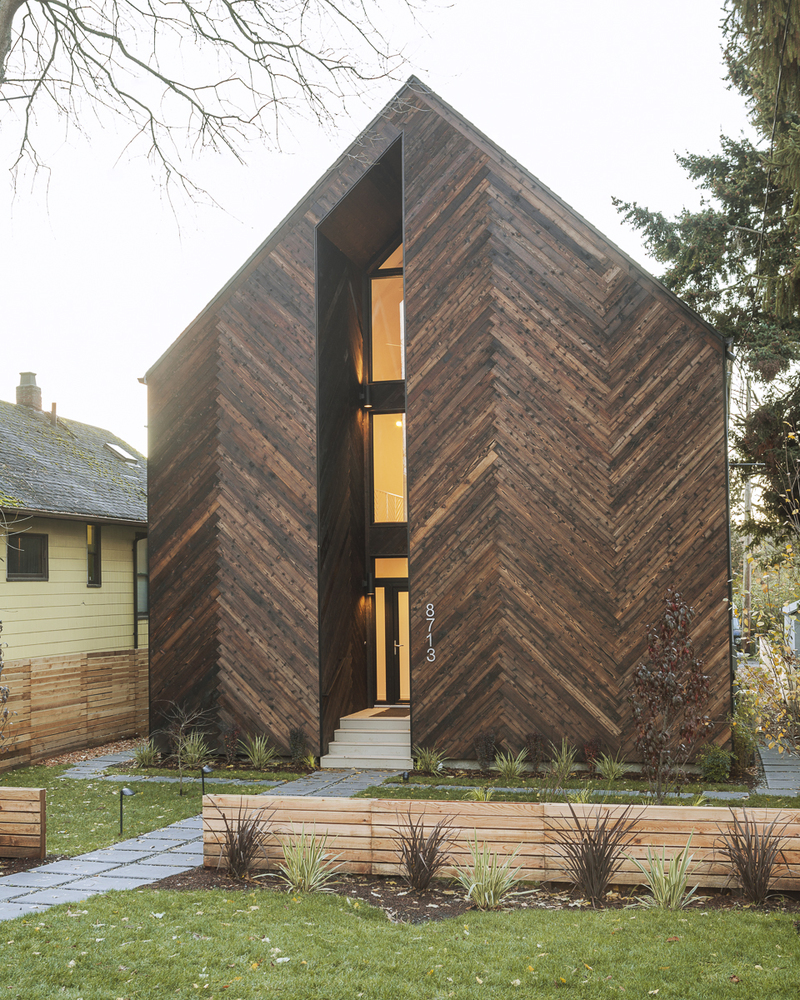
I originally hired my architect because of their Palatine Passive house, which I felt set a new direction for Northwest Modernism:
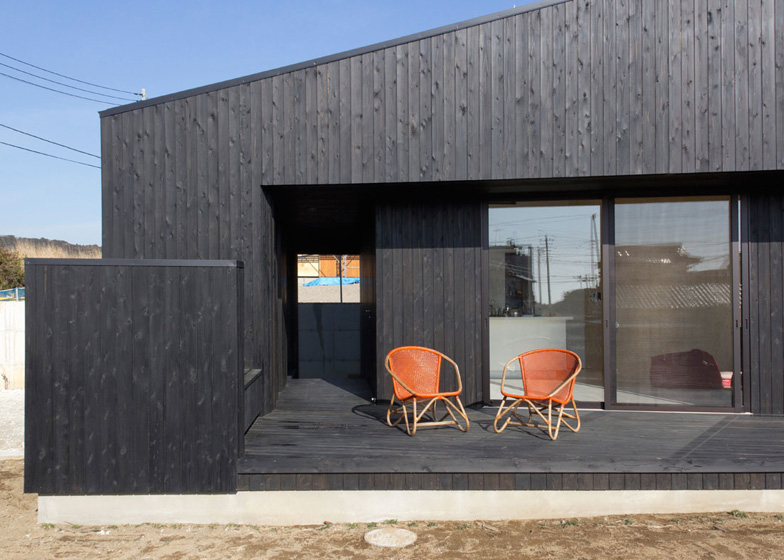
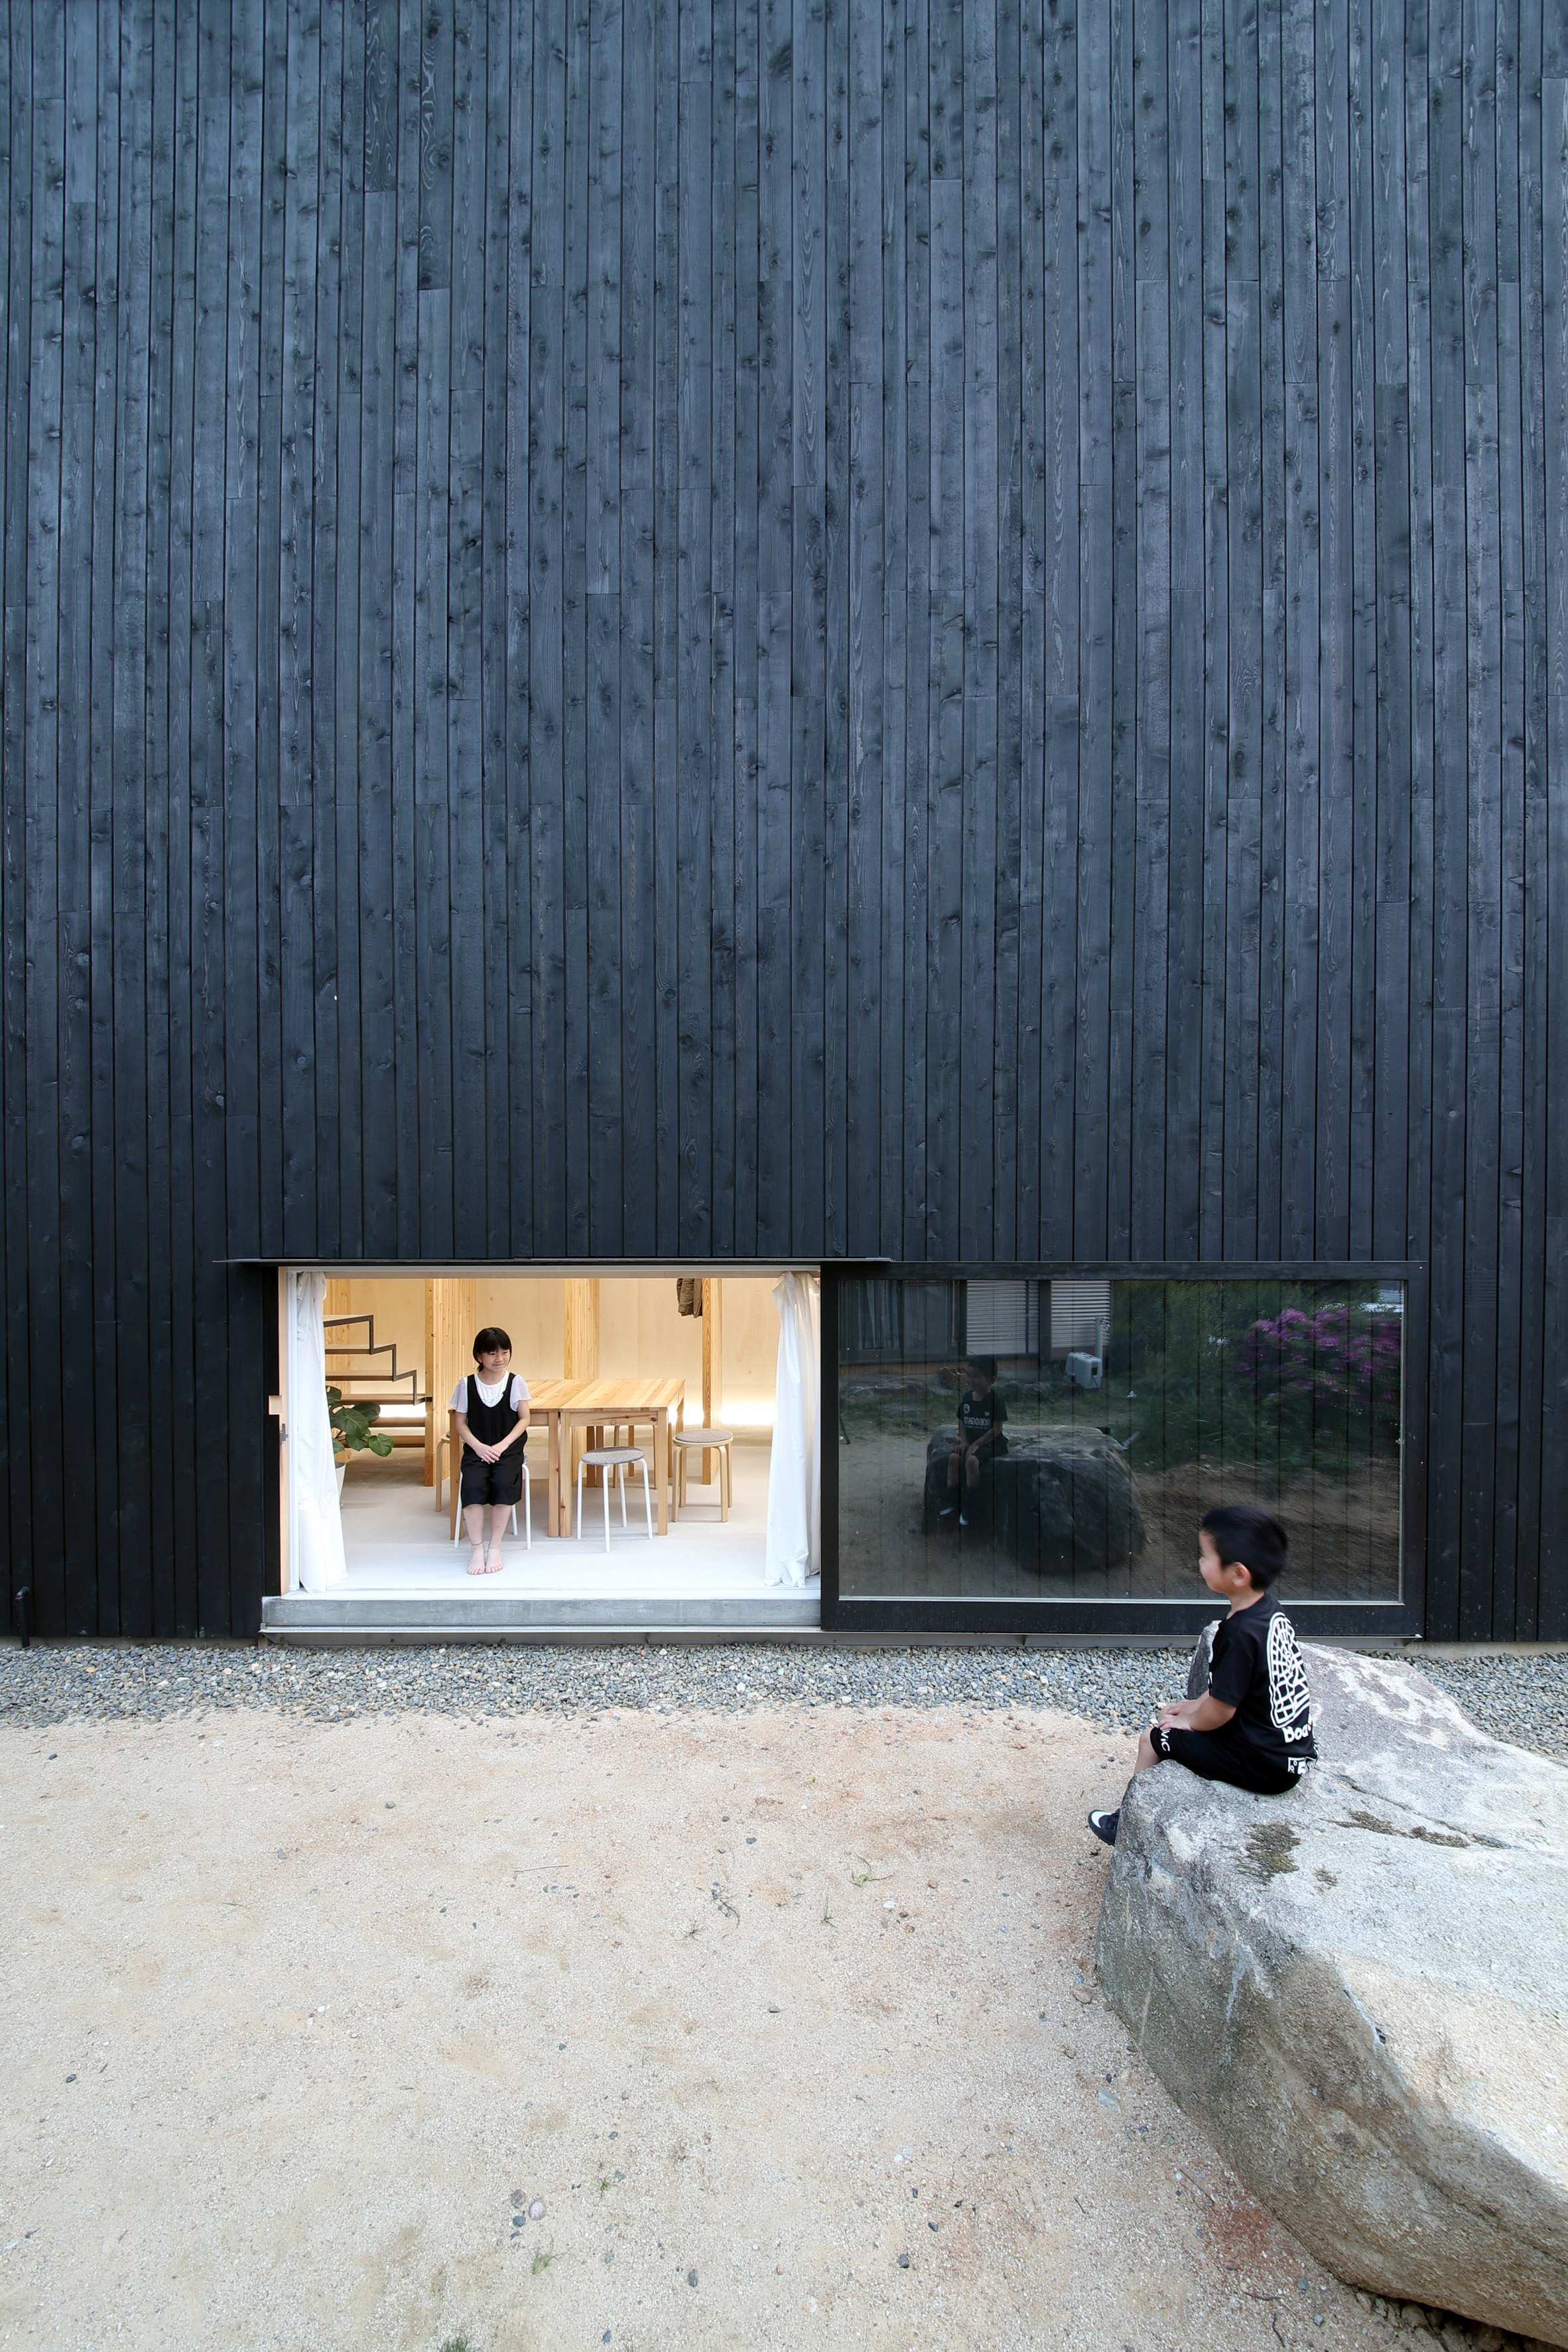
The front of the house features charred cedar, created using a Japanese method called shou sugi ban. This technique is labor-intensive, and thus expensive – others have argued that a similar look can be achieved with a simple stain. Another inspiration is the recent trend of black houses. A black house can minimize its apparent size, which is useful for my house since it will be be the biggest on the block. But most of all, I love the look of images like these!
Selections
So I asked my builder for some black-stained tongue-and-groove cedar samples. They seemed chagrined, and I don't think they really believed I wanted black. A parade of samples, and shouts of "blacker!" followed. They inched towards blackness, when I wanted movement in miles!


The last sample was getting close. But I noticed the board had a rough side and a smooth side; the smooth side is usually the outward face. But I wanted the rustic look of the rough side facing out.

Close! I didn't like the bevel between the boards; I wanted a flush, square profile, for a more seamless look. Surprisingly, this added $700 to the cost, but so it goes. Here is a detail of the final result installed!

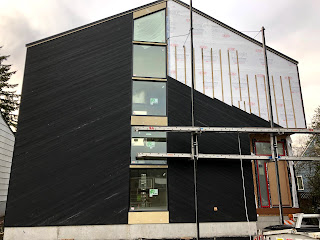
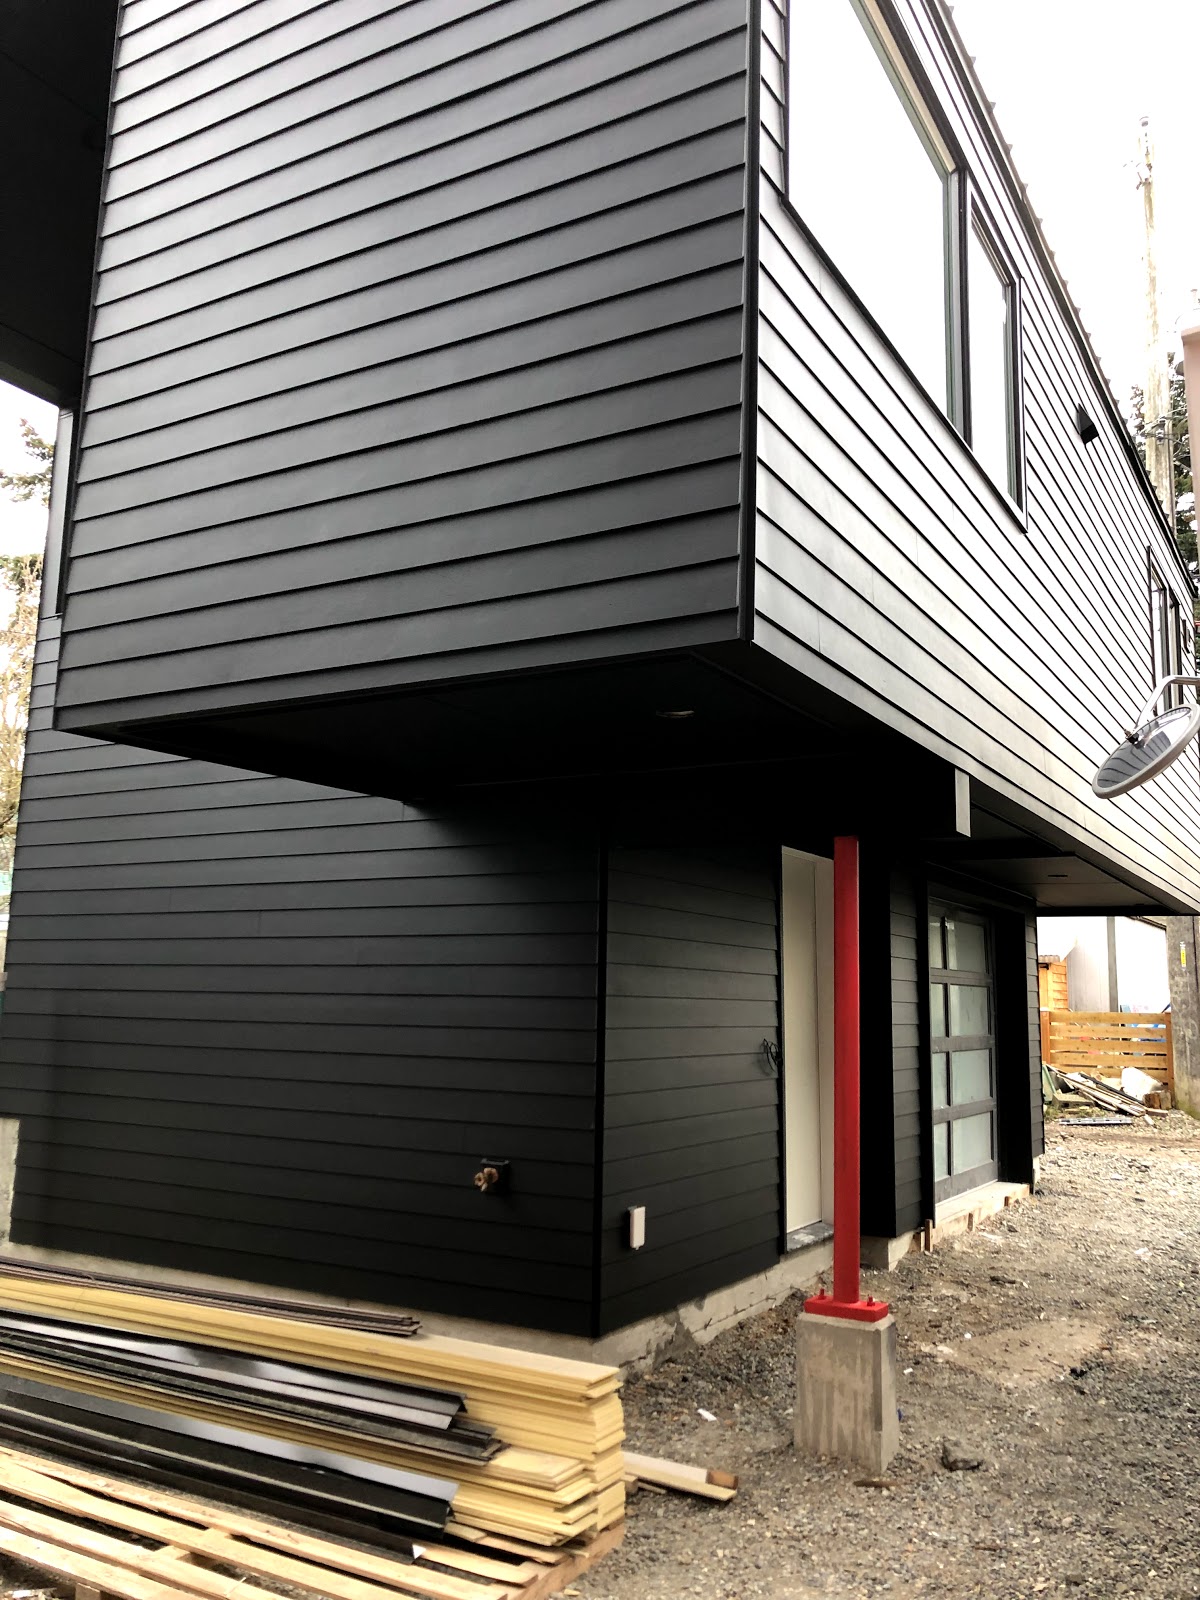
Smoking hot! During installation a bunch of sawdust and white dust got on the black cedar, which the builder is waiting until the end to wash off. Along with the black, my other splurge material was red aluminum panels to go with the red windows. (The door in the first pic is a temporary door.)


To keep costs low elsewhere, I went with simple lapped Hardiplank. It comes pre-primed in yellow, and then we painted them Sherwin-Williams Tricorn Black.


(Again, all swing doors are temporary.) The west side of the first floor was done in Hardiepanel, painted red, to form a continuous volume with the red aluminum panels on the front and back. The Hardiepanel is dramatically cheaper than the aluminum panels, and given that this side is ten feet from the neighboring house and not very visible, I applied some value engineering here. I wish the reveals had lined up, but not a big deal.

Waterproofing
Of course, the primary goal of siding is to keep the elements out :). The gold standard for waterproofing in the Northwest is to use a rainscreen system, where furring strips hold the siding off the water-resistant membrane, where moisture is allowed to drain and dry. We used this system for both the cedar (closed-joint) and the aluminum panels (open-joint), where there isn't really a reasonable alternative behind these siding materials.

I opted for a cheaper alternative behind the highly durable fiber-cement Hardie, however. I used a so-called drainable housewrap – Tyvek StuccoWrap – which is wrinkled; the idea is that the wrinkles create a small air gap behind the siding, allowing any water that gets behind the siding to drain. There are a number of drainable housewraps on the market; some are bumpy, some wrinkled, and some involve a 3D mesh. From my googling StuccoWrap seemed to have the best reputation. Behind the aluminum panels we needed a black membrane, so we used Vaproshield there.
Results
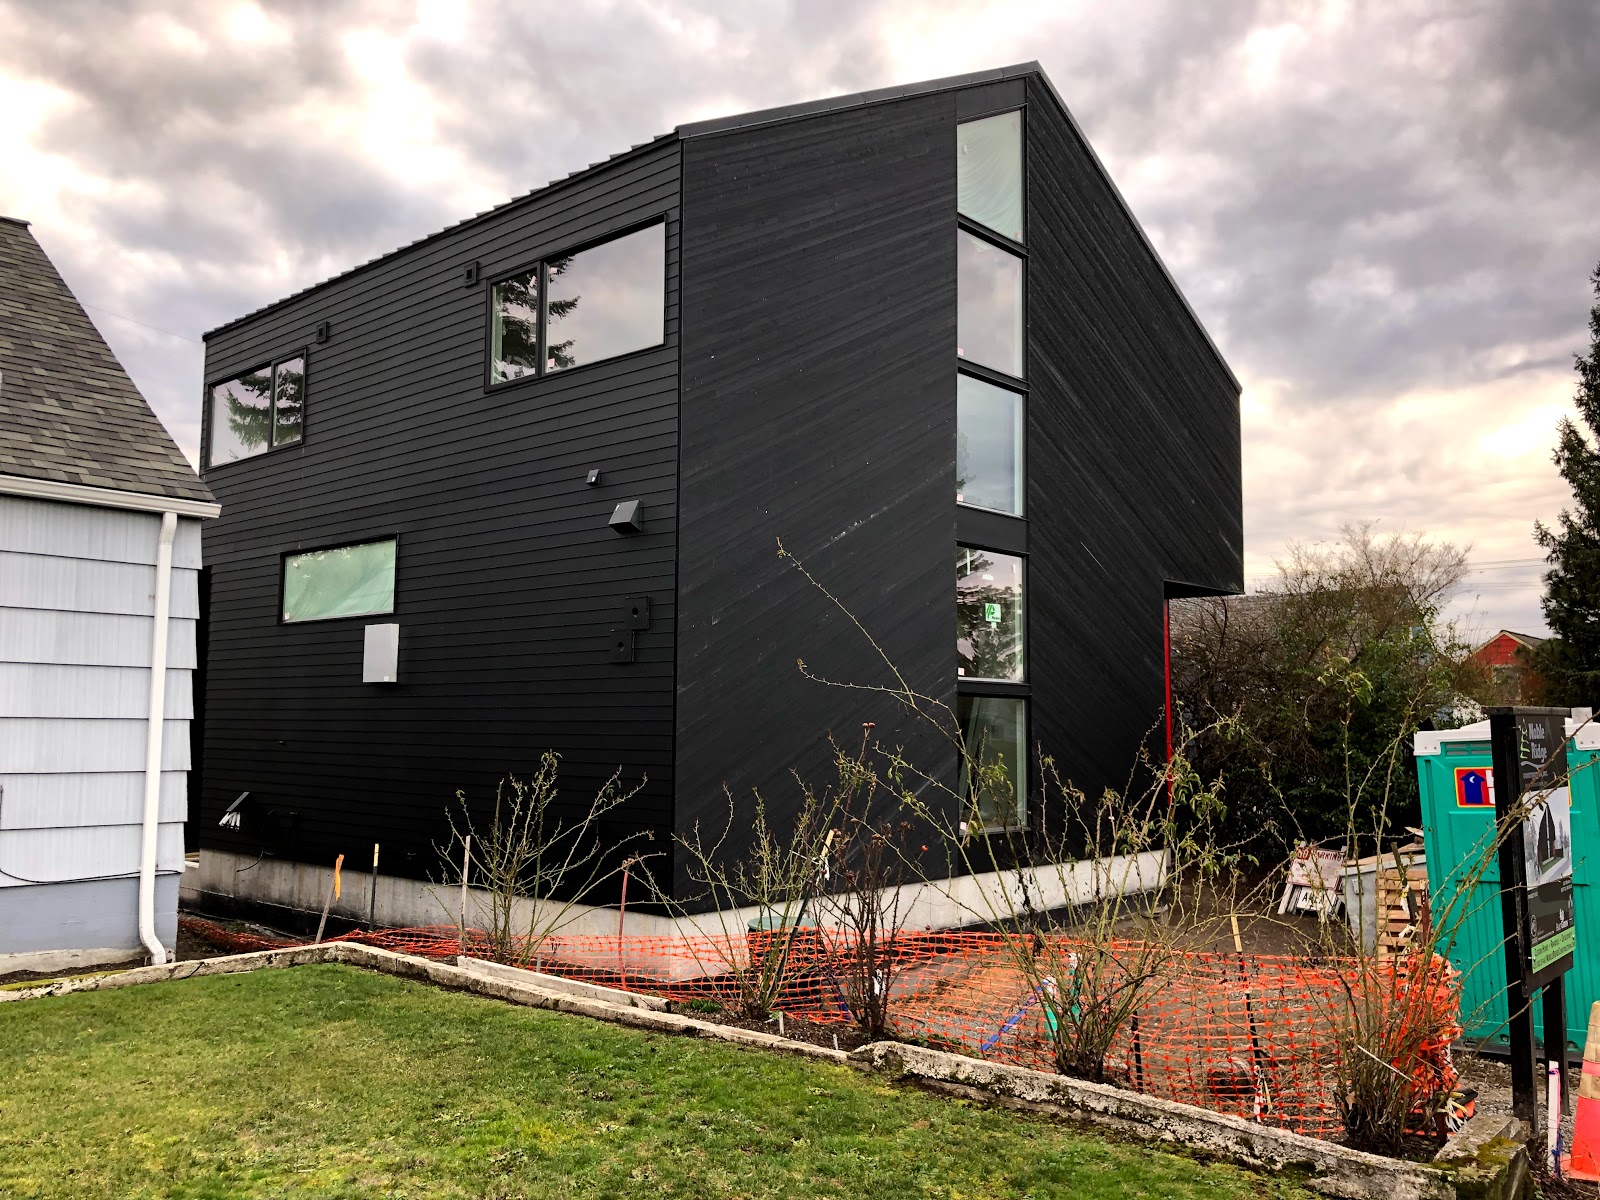
Enough technical details; here are some more pretty pictures! I love how intense the backyard cottage ended up, in all black lapped siding. Once the landscaping comes in it should mellow out a bit.


Comments
Post a Comment